Lesson contents
The img tag
Use the <img> tag to show images on a Web page.
Point your browser at https://webexamples.skilling.us/basic-sites/images/happy.html. You'll see this:

Here's the code in the file happy.html:
- <!doctype html>
- <html lang="en">
- <head>
- <title>Doggos</title>
- <meta charset="utf-8">
- <meta name="viewport" content="width=device-width, initial-scale=1, shrink-to-fit=no">
- <link rel="stylesheet" href="styles.css">
- </head>
- <body>
- <h1>Happiness</h1>
- <p>What makes people happy?</p>
- <p> <img src="rosie1.jpg" alt="A doggo"> </p>
- </body>
- </html>
img shows the image. src gives the URL of the image file.

Ray
So, images are not inside html files. They're separate files. They're brought in.
Correct. You can see this happen. Open https://webexamples.skilling.us/basic-sites/images/happy.html if you haven't already.
Now, open the developer tools, by pressing F12. The browser will show a new part of the screen that will let you poke around in a page's innards.
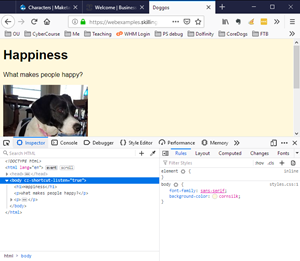
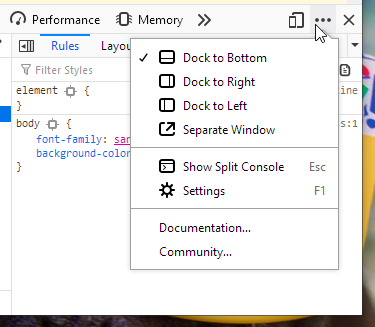
The dev tools might be to the side of your page, or even in a separate floating window. You can show them where you want, though it can be tricky to figure out how. In Firefox, click on a ... to change where the dev tools are docked.
Dev tools can tell you a lot of different things about your page. Right now, click on the Network tab. The network tab shows activity on your internet connection, as you look at pages.
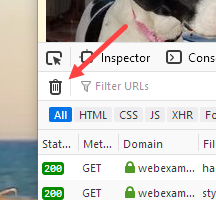
Click on the trash icon to clear the current values.
Now reload the page. Dev tools will show you network activity.
Here's the HTML in happy.html again, edited for brevity:
- . . .
- <head>
- . . .
- <link rel="stylesheet" href="styles.css">
- </head>
- <body>
- . . .
- <p><img src="rosie1.jpg" alt="A doggo"></p>
- </body>
The browser needs three files to show happy.html. First, there's happy.html, obviously. But it also needs styles.css, and rosie1.jpg.
The network tab shows you that happening. Here's what I saw:
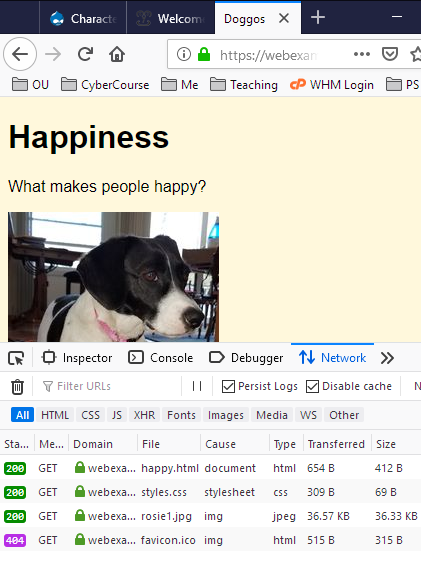
There are four GETs (ignore the last one for now). Recall that GET is how a browser asks a server for a file. There are GETs for happy.html, styles.css, and rosie1.jpg. The GET for rosie1.jpg returned about 36Kb, which matches the size of the file from the previous lesson.
So, images on the web are in separate files. html refer to files containing image data, rather than containing image data themselves.
Note
There are ways for HTML files to contain image data directly, but almost all images on the web are in separate files.
The fourth GET in the screenshot is for the page's favicon, the small image that shows up on browser tabs:
![]()
Favicons are image files, as well. Check the screenshot again, at least part of it.

There were four GETs. The first three succeeded, returning the HTTP code 200. We don't need to know the codes, just that 200 means OK, and 404 means "not found." We haven't given the page a favicon image, so the GET failed.
The alt attribute
Here's part of that HTML again:
- <p><img src="rosie1.jpg" alt="A doggo" ></p>
You should add the alt attribute to every image. It gives a text alternative for the tag.
There are two reasons you should use the alt tag. First, the alt attribute is used by screen readers, programs that read out the text of a Web page to visually impaired people.
Second, the alt tag helps search engines know what the image is about. People are more likely to find your page if you add alt attributes to your images.
Grabbing transparent images
Exercise
Animal images
Make a page showing two animal photos, and a drawing. Use whatev er animal you like. I'll use (surprise!) doggos.
The drawing should have a transparent background. Here's a sample page.
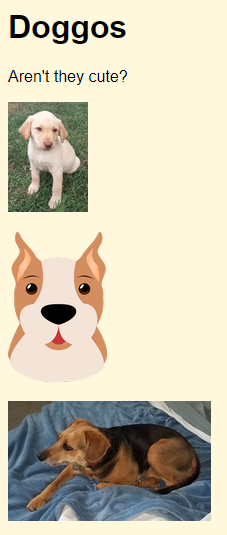
Give the page a background color, so the transparency shows.
Hint: images with transparency are often called isolated images. Good to know when you're searching. You can grab transparent images from https://www.transparentpng.com/.
Make sure the page has all of the tags it needs. Use a separate style sheet. Protect your work with a password. Submit the URL of the solution.
Summary
- Images are separate files, loaded by browsers as needed.
- Show images with the
imgtag. - Always include an
altfor every image.
Next up
How to style images with CSS.